- How to set up and use the Vaporesso XROS 4 Nano pod vape kit
- What are the power settings on the Vaporesso XROS 4 Nano?
- Charging your Vaporesso XROS 4 Nano
- How to fill your Vaporesso XROS 4 Nano pod
- How to change the Vaporesso XROS 4 Nano pod
- Adjusting the airflow settings on a Vaporesso XROS 4 Nano
- How to fix a Vaporesso XROS 4 Nano which is not working
- The best vape juice for pairing with the Vaporesso XROS 4 Nano pod kit
- How is the XROS 4 Nano different?
The latest addition to the popular XROS pod kit range from Vaporesso, the Vaporesso XROS 4 Nano, has hit the market, incorporating the much-loved features from previous XROS iterations with some exciting new additions like a bigger battery and full sized screen. We’ve put together this guide with everything you need to know about the new XROS 4 Nano, including set-up, charging, and even troubleshooting.
How to set up and use the Vaporesso XROS 4 Nano pod vape kit
The design of the XROS 4 Nano makes it incredibly easy to set up, all you need to do is make sure the battery is sufficiently charged, fill up the pod, and let the coil prime.
How to prime the coil
Priming the coil is a simple but important step, as it makes sure that the e-liquid is well absorbed to prevent your coil from burning out straight away. Simply put, if you fill the pod with e-liquid and use it straight away the cotton inside the coil will not have time to absorb the e-liquid, effectively meaning you are burning a dry coil.
All you need to do is fill up the pod as usual and then let it sit for 5-10 minutes before you start to use it, and this only needs to be done the first time you fill a new pod. You can find out more about priming and maintaining your coils in our guide to coils and coil maintenance.
How to turn on the Vaporesso XROS 4 Nano
To turn on your Vaporesso XROS 4 Nano you simply need to press the power button on the side of the device five times in quick succession. You’ll know that the device has turned on because the screen will display a short powering on sequence. You can also click the button five times to turn the device off, which is handy as an extra level of security if you are storing the device in your pocket or bag when not in use. Alternatively, you can lock the device when not in use by pressing the power button four times.
How to vape with the Vaporesso XROS 4 Nano
Like many of the other XROS pod kits, the 4 Nano offers both inhale activated and button activated vaping. This means that you can push the fire button down to start vaping, or simply just inhale through the mouthpiece without pressing the button, whichever feels most comfortable for you.
What are the power settings on the Vaporesso XROS 4 Nano?
Pressing the power button three times allows you to switch between the three different power modes; normal, power, and eco. The power setting is displayed on the screen so it is easy to keep track of which one you are using.
Once you have opened the power settings click the button to cycle through the three option, and when you have settled on your chosen option do not press the button for a couple of seconds and the power menu will close. These three power settings are available with all of the XROS pods, except the new 0.4 pod.
The 0.4 resistance XROS pod allows you to precisely adjust you’re the wattage you are using. Press the power button three times to enter the power setting, and click the button to increase the wattage by 0.5 increments until you reach your preferred setting.
How to change the display on the Vaporesso XROS 4 Nano
The XROS 4 Nano features the biggest screen yet seen in the XROS range, which includes a small animation. Press the power button two times to enter the themes menu, where you can select between universe, motorcycle, and flower, to control which theme and animation is displayed on the screen. If you prefer you can also select ‘animation off’.
Charging your Vaporesso XROS 4 Nano
The XROS 4 Nano features a built-in rechargeable battery. While the rest of the XROS range all contain a 1000 mAh battery, the 4 Nano contains a significantly more powerful 1350 mAh battery, to last longer between charges.
To charge the battery simply connect the USB-C charging cable that comes with the device to an appropriate power source, and plug it into the charging port on the side of the device. When charging the screen will display the current battery percentage as it increases, and an estimated time remaining to reach a full charge. The Vaporesso XROS 4 Nano reaches a full charge in approximately 40 minutes. The remaining battery percentage is always displayed on the screen so it is easy to tell when you’ll need to thing about charging.
How long does the battery last?
How long the battery will last varies from person to person depending on a few different things, like what power setting you use and how much you vape. However, the device is designed to last the average vaper for a full day of vaping.
How to fill your Vaporesso XROS 4 Nano pod
The XROS 4 Nano is compatible with the full range of XROS pods, including the new 0.4 resistance pod, giving you a wide range of options to choose from. All of the compatible pods are best paired with a 50/50 or high PG vape juice.
To fill the pod snap the black mouthpiece at the top of the pod to the side to remove it. There are three holes, and the fill hole has a red ‘membrane’ across it to prevent leaking. Insert the nozzle into the fill hole and squeeze the e-liquid in until the pod is almost full, you may find tilting the pod to the side helps ensure it fills evenly. The pod is clear so it is easy to see the e-liquid level within.
Always be sure to only insert e-liquid into the red fill hole, as the central hole goes straight to the coil and the other very small hole is simply to allow air to escape as the pod fills. Once the pod is filled up you can snap the mouthpiece back into place and insert the pod. If it is the first time filling the pod be sure to let it prime for 5-10 minutes as described earlier in the post.
We recommend always keeping the e-liquid topped up to at least the top of the exposed cotton on the coil to prevent dry hits.
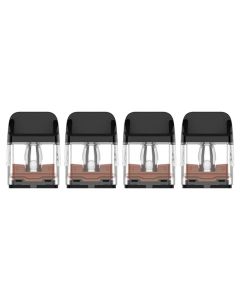
How to change the Vaporesso XROS 4 Nano pod
When it comes to changing the pod on your Vaporesso XROS 4 Nano it really couldn’t get any easier. Simply remove the used pod from the device and replace it with a new one, that’s it! Plus, the pods are held in using magnets so you can rest assured that once you pop in the new pod it is staying put. All you need to do is remember to prime the coil when you insert a new pod to help it last as long as possible.
The XROS pods have a SSS anti-leakage design which helps prevent the e-liquid from seeping out when the device is not in use, even if it’s stored at the bottom of your bag. The XROS 4 is compatible with the full range of XROS pods, and comes with one 0.6 pod and one 0.8 pod, so you can try a couple of different options to see which works best for you.
How do you know when to change your XROS 4 Nano pod?
As you continue to vape the cotton inside the coil housed in your pod will start to burn. You can usually tell when the coil is starting to burn out as the flavour of the vapour may become muted, bitter, or take on a burnt taste. At this point, the pod will need to be replaced with a new one.
Adjusting the airflow settings on a Vaporesso XROS 4 Nano
The XROS 4 Nano has fully adjustable airflow, which allows you to control how loose or tight the draw feels. This is controlled using a small sliding switch on the side of the device. We recommend experimenting with different airflow settings by sliding the switch to different points, so you can find the setting that feels most comfortable and satisfying to you.
For a visual guide to setting up your Vaporesso XROS 4 Nano, take a look at the following video:
How to fix a Vaporesso XROS 4 Nano which is not working
With all new vape kits we recommend reading the user manual included with the device to help you get set up and to familiarize yourself with how the device may indicate a problem.
If your Vaporesso XROS 4 Nano is not working, the first thing to check is that it is sufficiently charged. If the battery has run too low the device will stop working and will show a low battery message on the screen.
However, if the battery is charged but the device has encountered an issue that is preventing it from working this will usually be indicated by an error message flashing on the screen. This means that one of the devices built-in safety features has been activated, which include low resistance, short circuit, high temperature, or that the pod cannot be detected.
Always consult the user manual to see what the error message you are receiving is indicative of, and how the manufacturer recommends resolving the issue. You can also try removing the pod and cleaning the base of the pod and the contacts within the device to ensure there is no e-liquid or debris interfering with the connection. Following this you could try replacing the pod with a new one, to see if this resolves the issue. If the problem persists you may need to contact the seller or manufacturer to determine if there is a fault with the device.
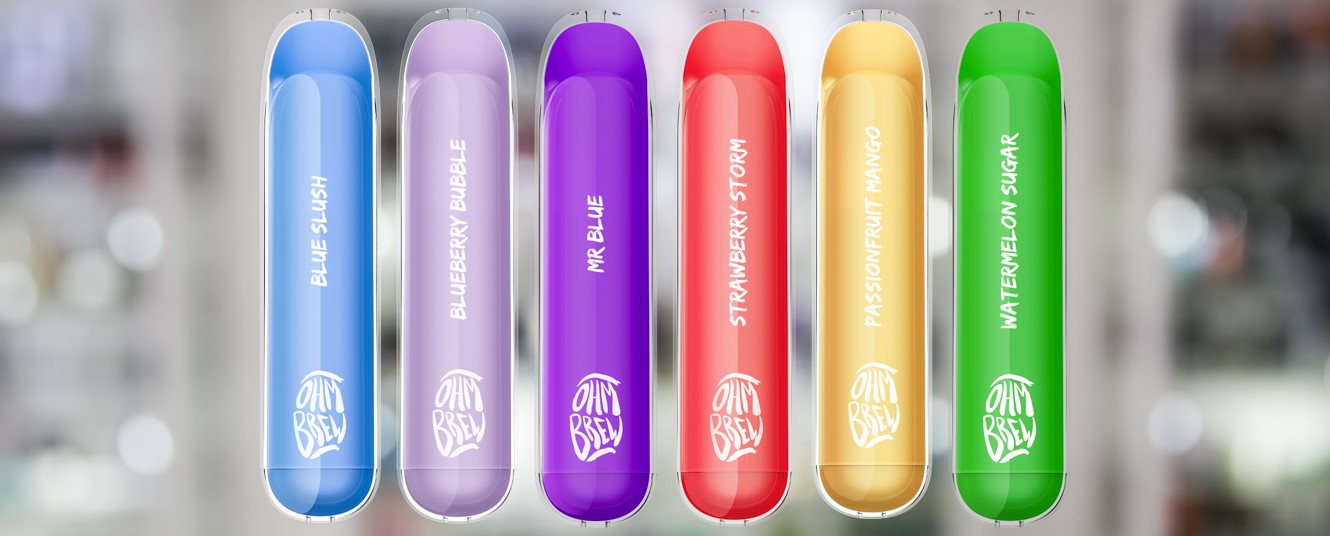
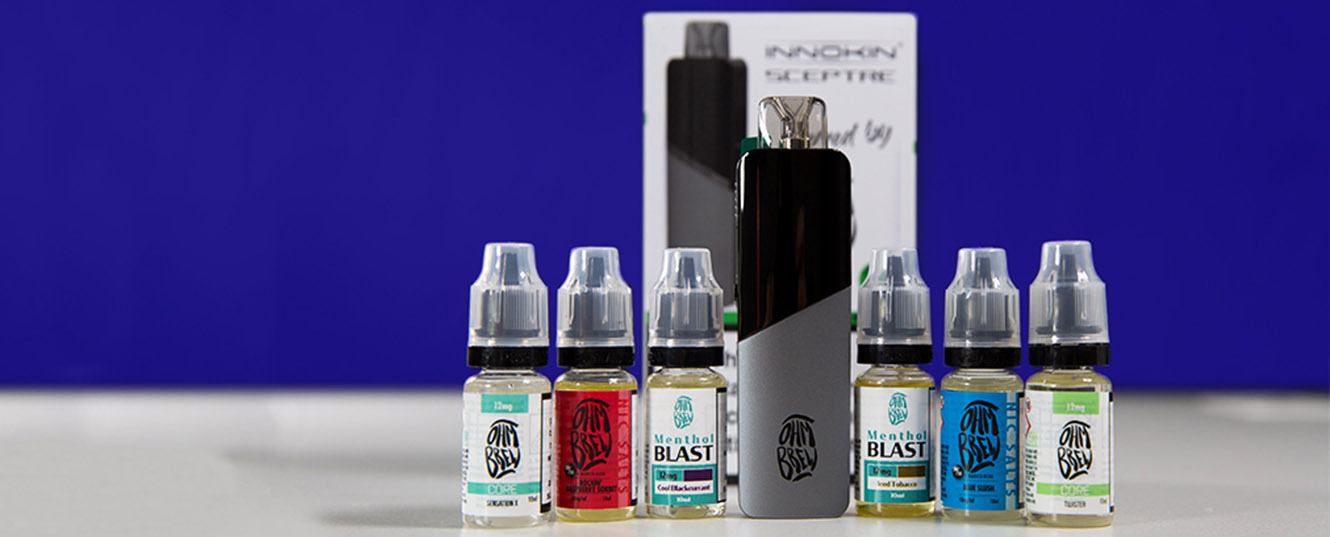
The best vape juice for pairing with the Vaporesso XROS 4 Nano pod kit
The Vaporesso XROS 4 Nano is best used with a 50/50 or high PG vape juice, as the thin consistency helps the coil remain saturated between pulls. From there you can pair it with whichever flavour and nicotine strength suits your preferences.
If you’re looking for some inspiration why not check out the extensive range of Ohm Brew 50/50 nic salts, or the powerful flavours of the Double Brew and ELFLIQ ranges?
How is the XROS 4 Nano different?
The Vaporesso XROS 4 Nano incorporates all of the best features from the XROS range so far, as well as new features of its own. For starters, a really stand out part of the Vaporesso XROS Nano is the bigger battery, which can help the vape last that little bit longer between charges than any of its predecessors.
The 4 Nano also includes the biggest screen seen so far in the XROS family, even though it maintains a small, compact size. This makes it easy to keep track of the mode, battery percentage, and to access the menu, not to mention that the themes add a little touch of fun.
The size and shape of the device makes it a great option for those who are a fan of the XROS range, but prefer a square, palm-sized vape as opposed to a more pen style design, and as an added bonus the vape comes with a lanyard to make it even easier to travel with. If you like the sound of the Vaporesso XROS 4 Nano and want to learn more, reach out to a member of our team either in your local Evapo store or through our online Customer Service Hub.